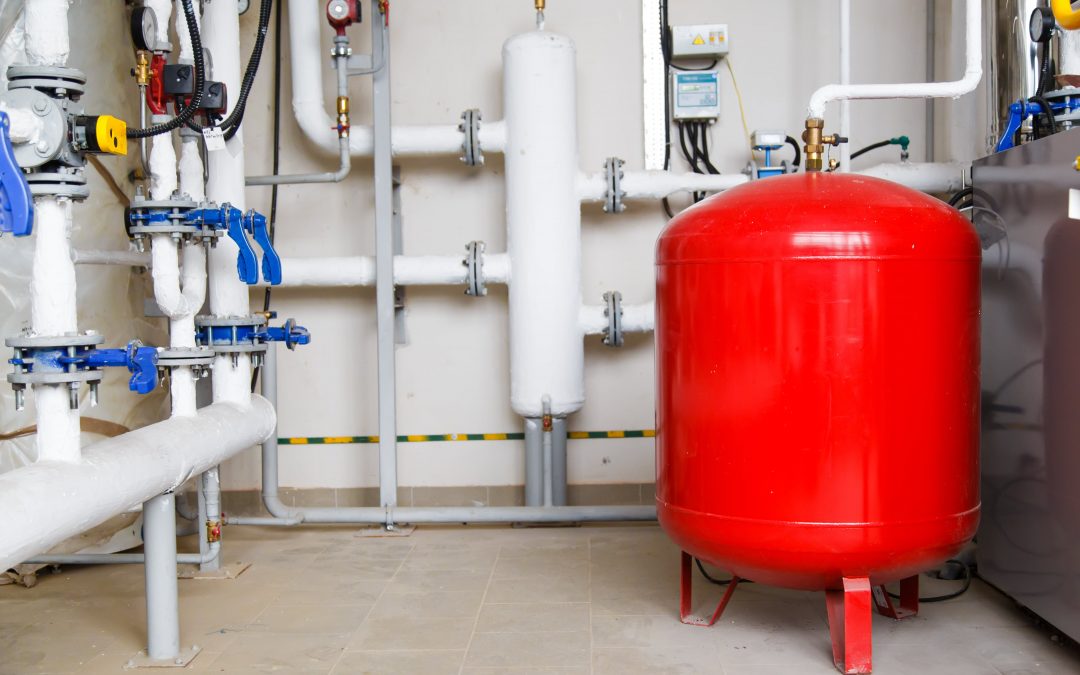
Do you know how to maintain your household water tank? Are you concerned that the water in your home may be contaminated by harmful bacteria or contaminants?
If you have a private well, you need to take it seriously and treat it like a public water system. An important first step is to clean your water storage tank every year to remove any accumulated sediment and debris.
See below for some basic water tank maintenance tips to ensure that your water storage tank is functioning at its best.
Test the TPR Valve
One important task is testing the temperature and pressure relief (TPR) valve, which helps protect the tank from excessive pressure. The valve needs to be tested at least once a year, or more often if it is used regularly. Begin by turning off the water supply and disconnecting the pressure relief valve tubing.
Next, lift the TPR valve by pressing down firmly on the handle. The handle should lift up easily with little resistance. Finally, you should hear water flowing out of the valve. If no water comes out, the valve needs to be replaced. It is also important to check for water leaks before reattaching the tubing and reinstalling the valve.
Check the Anode Rod
The anode rod is a metal rod with a sacrificial coating, usually made of magnesium or aluminum, that helps prevent the tank from developing pinholes or leaks. Inspect your anode rod yearly to ensure it is in good condition and working properly. If the rod is broken, corroded, or otherwise damaged, it should be replaced.
Visual inspections should also be performed from time to time, as the anode rod can sometimes go unnoticed until damage has occurred. If you notice any damage to the water trough, such as cracks or leaks, it’s important to repair or replace it immediately to avoid any water wastage or contamination.
Drain the Tank and Wash Out the Sediment
This should be done at least every six months to ensure your residential water tank is kept in good condition and properly functioning. First, switch off the power and water supply to the tank, then attach a length of hosepipe to the drain valve.
Once the draining valve is opened, the tank will begin to empty, and the sediment will start to appear. When the tank is halfway empty, turn off the valve, remove the hose, and then view the inside of the tank to check for any signs of damage.
Adjust the Temperature
The temperature should be adjusted to at least 120 degrees Fahrenheit to help prevent the growth of different types of bacteria. While some newer tanks may have temperature controls, older tanks may need to be adjusted manually. To do this, first, turn the power to the electric heater off before making any adjustments.
Then, use a non-contact thermometer to measure the water temperature then make sure the temperature knob is set at the desired level. Additionally, check the temperature setting twice a year with the thermometer to ensure it is working correctly.
Importance of Water Tank Maintenance
By following the steps in this guide, you can ensure your water tank stays in proper working condition. Basic maintenance can help detect any issues early and prevent costly repairs down the road.
Make sure to check for water leaking or rusting tanks and be proactive when it comes to checking your water tank. Get started on proper maintenance today to ensure clean and safe water for years to come!


6 comments
Wow, this blogger is seriously impressive!
I appreciate your creativity and the effort you put into every post. Keep up the great work!
For the reason that the admin of this site is working, no uncertainty very quickly it will be renowned, due to its quality contents.
How do I know who my husband or wife is chatting with on WhatsApp, then you are already looking for the best solution. Eavesdropping on a phone is much easier than you realize. The first thing to install a spy application on your phone is to get the target phone. https://www.xtmove.com/how-to-know-who-my-husband-wife-chat-with-whatsapp-how-spy-another-phone/
… [Trackback]
[…] Find More on to that Topic: businessbod.com/a-homeowners-guide-to-basic-water-tank-maintenance/ […]
… [Trackback]
[…] Read More here on that Topic: businessbod.com/a-homeowners-guide-to-basic-water-tank-maintenance/ […]